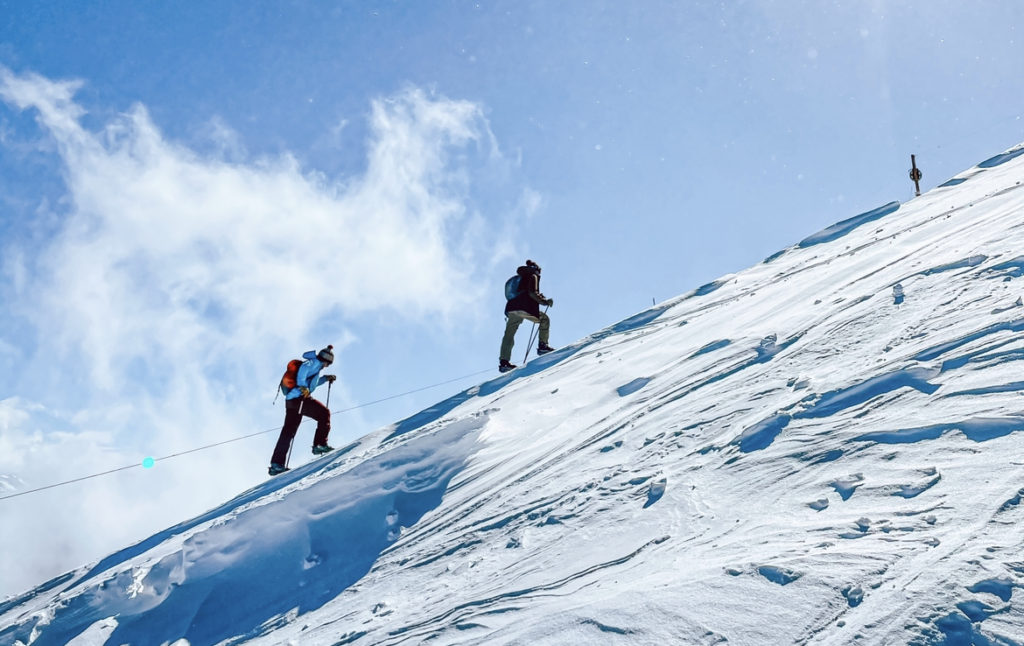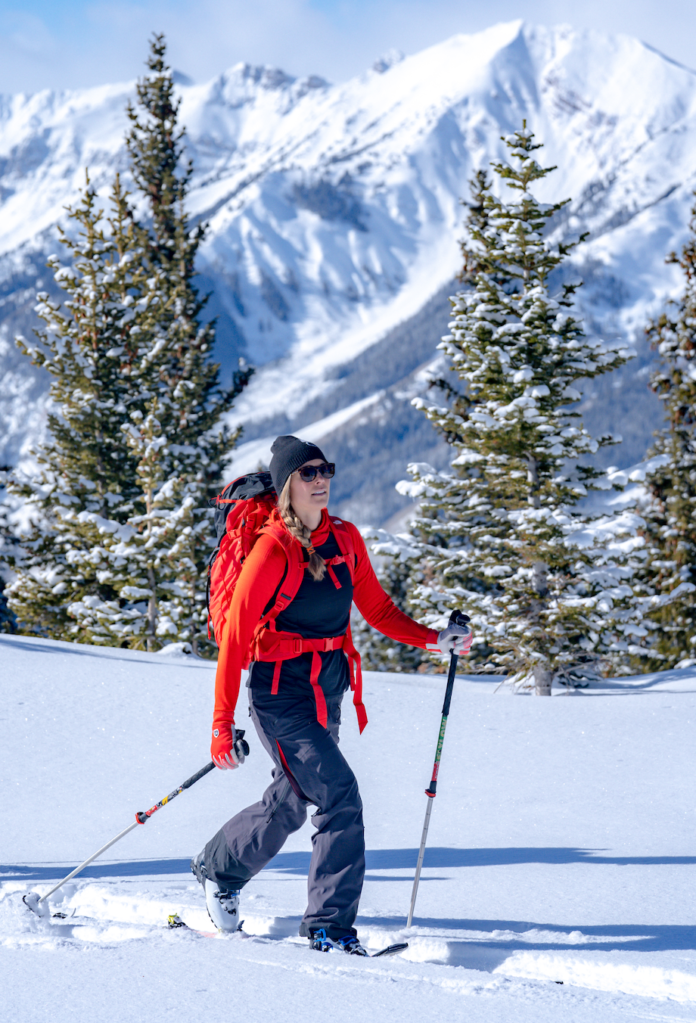
This winter looks a little different. Okay, let’s be honest, it’s a global pandemic and everything is different this winter. As people seek to avoid the crowds and try out new activities, there are more people in the backcountry than ever before. We will have a series on avalanche education coming out shortly, which is an incredibly important place to start to understand the risks of the backcountry. But as you start to think about what gear you need we have put together what you need to know before you go.
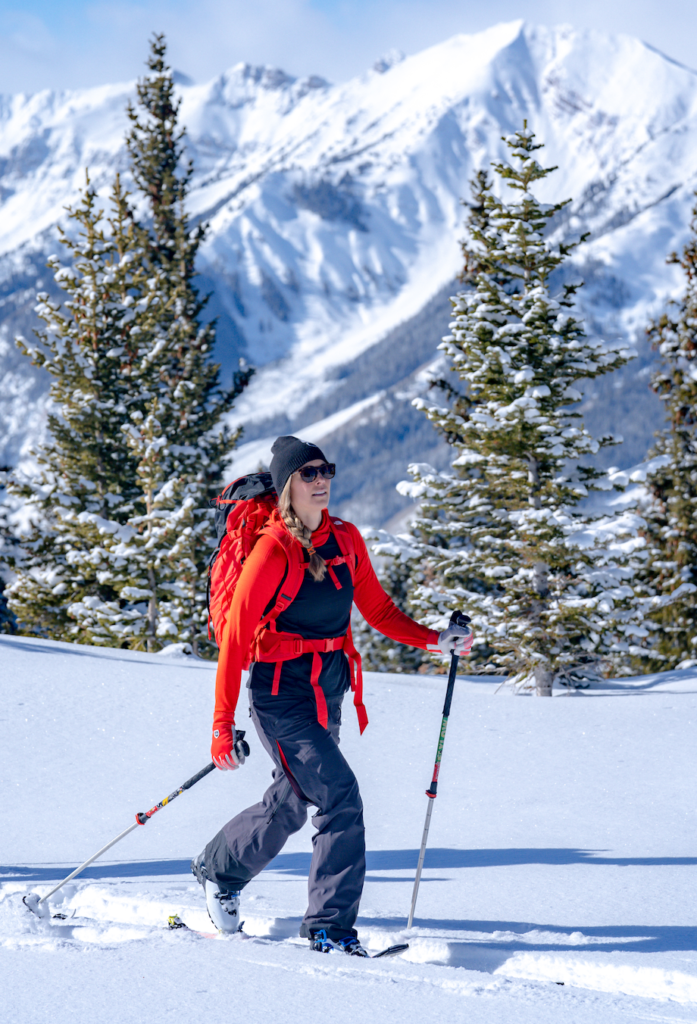
There is a lot of names for what we will call “non-lift served skiing,” it’s referred to as touring, AT (alpine touring), uphilling, skinning, skimo (ski mountaineering), rando (randonnee). There are probably more, and new names being introduced all the time as this becomes more popular and people want to define different aspects of moving around on skis. We have generally lumped these distinctions all together to give you a basic introduction to the sport.
Skis For Uphill Travel
Let’s start at the bottom, literally, with skis under your feet. Any ski can be mounted for touring bindings, but you want to weigh in a couple of factors before you decide on the right sticks. Given the lack of lifts, you will be walking up those hills to earn your turns. Most ski brands are making a lightweight ski that’s easier to navigate the skin track. But before you go for some skimo matchsticks, remember that the snow conditions are going to be deeper and more variable than on the resort, so it’s a fine balance for weight on the way up and heft for the way down. A few women’s options out there that we love are the Black Crows Anima Birdie, Coalition Snow’s La Nieve Ski, the Mystic from Icelantic, and Folsom Customs Primary, to name a few.
Free The Heel
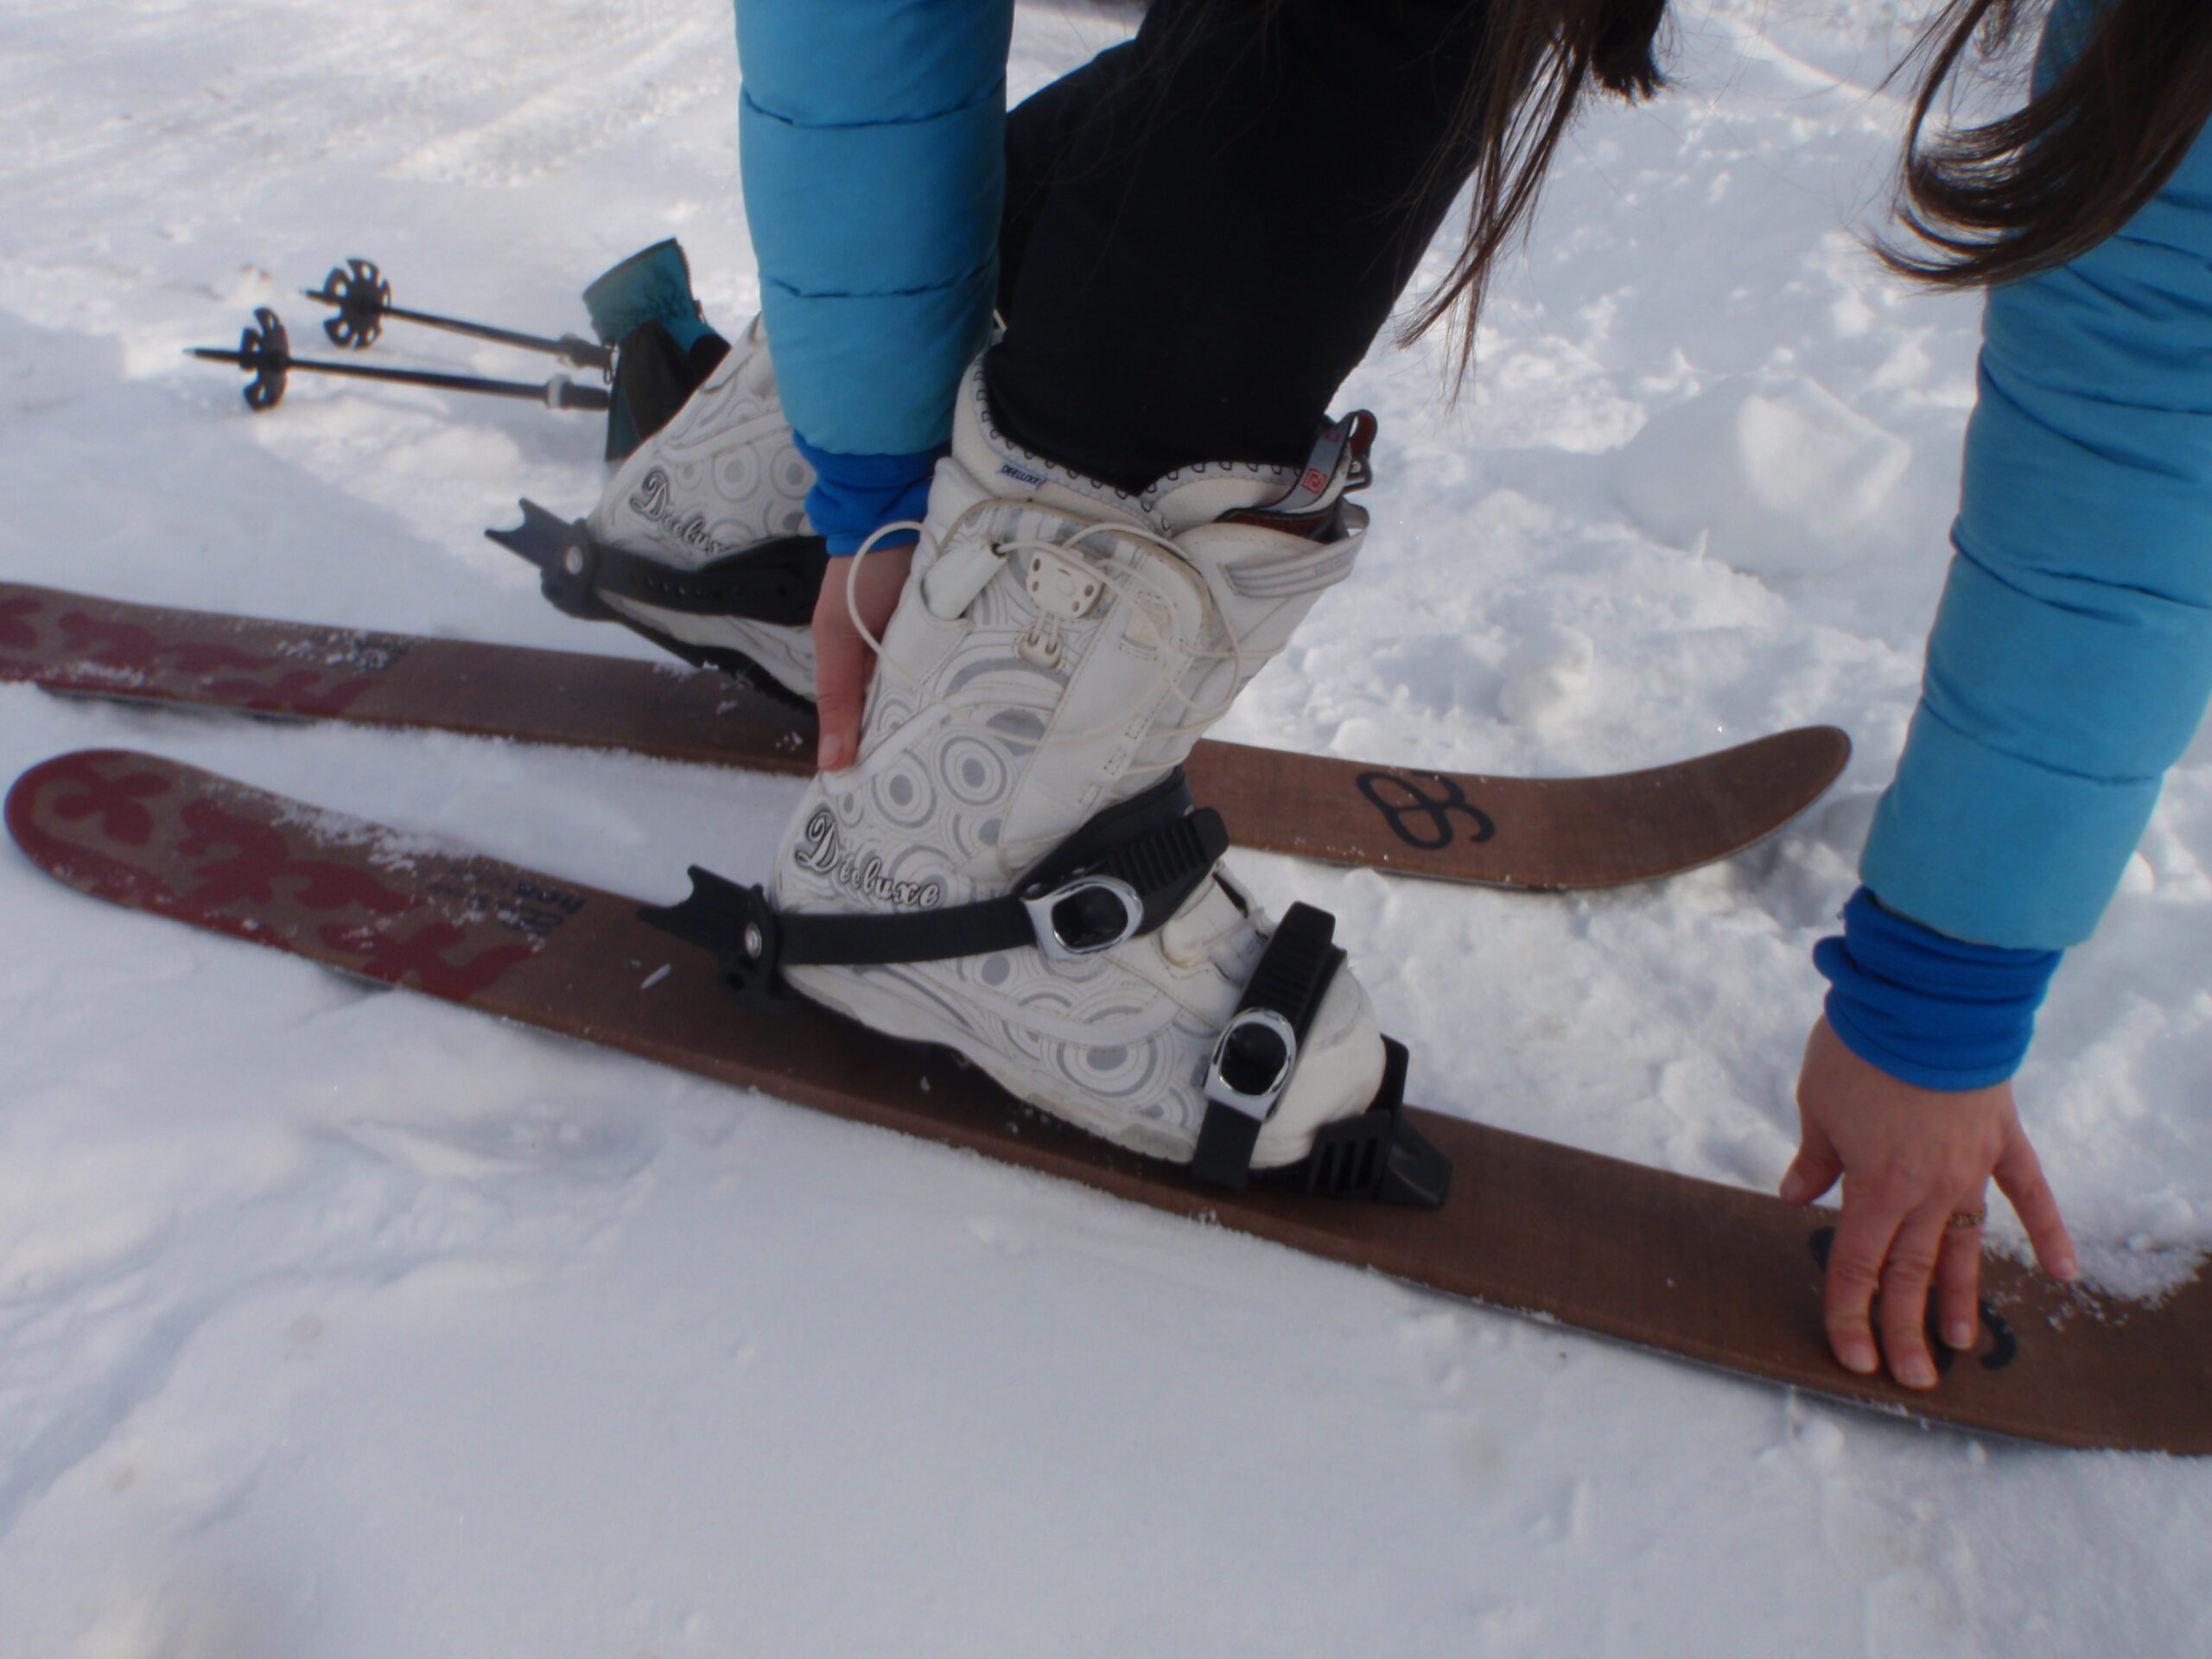
What really separates resort skiing from ski touring is the bindings. You need to be able to free your heel so you can walk uphill, this allows for a more natural movement for walking. The front is called a “tech toe binding.” This is a set of pins that that clamp on to your boot allowing you to lever from that position to slide your ski forward. The back of the binding needs to have a walk to cover or turn the binding so you can step on it without locking in. This usually has risers, making the binding at t a steeper angle for you to walk up steeper terrain. The binding then needs to be able to turn or uncover so you can lock the back of your boot in to start skiing downhill. Marker, Black Diamond, and Dynafit are just some of the many companies that make bindings for the backcountry. Just make sure your bindings and boots are compatible.
These Boots Were Made For Walking
Like your bindings that allow you to flex your foot up, boots are a crucial ingredient to walking more comfortably in the backcountry. There are two important components that differentiate these boots, from your alpine ski boots – a (true) walk mode and tech inserts. Walk mode is generally a lever on the back of the boot, and while flipping up the boot articulates at the ankle, allowing you to move easily. At the top of you tour, when you transition your equipment back into downhill-ready, you’ll want to flip that lever down and lock your boots back into ski mode, making them stiffer and more responsive for a better skiing experience. Regardless most AT boots are going to be a softer flex than the ski boots you are used to. The other part is the matching component to the tech toe binding, an insert in the toe of the boot for the pins of the binding to attach to. Pretty much every boot brand is making an AT boot, so it’s about trying a lot on and walking around the store A LOT in them to find what fits your foot the best.
Skins
So you have heard touring is often called “skinning” this is a reference to the sticky, carpet-like strips you attached to the base of your skis, called skins. The hairs of the skins flatten and only glide in one direction, but then grip the snow when not flattened. This allows you to have purchased as you travel uphill, without sliding backward on the snow. Many backcountry ski manufacturers offer pre-cut skins, but you can also purchase them separately from brands like Pomoca, G3, and Black Diamond. Note that with these aftermarket options the package will include a trimming device, but be sure to watch some YouTube tutorials or stop by your local ski shop before you set about cutting skins on your own.
Safety
Most importantly if you will be heading off the resort you will need avalanche equipment – a beacon, probe and shovel. But these devices can’t save lives on their own, you must have some education to understand the risks and safety involved in backcountry conditions. Because this is such a crucial piece of travel in the mountains we will be providing a separate deep dive into this segment of gear, including some recommended airbags.
That wraps up an intro t the hardgoods side of what gear you need for the backcountry, check back next week for the soft goods round-up of what you need to gear up and get outside!
